How to Optimize and Resize Images for WordPress (Formats for Web including JPG, PNG and WEBP)
Are you creating a portfolio or photo gallery on your website? Uploading images for your business or personal blog? If so, you have to consider the benefits and advantages of image optimization.
In short, uploading quality images with small full sizes is absolutely critical. Images less than 1 MB in size can still look amazing after they are compressed and exported from your 10 MB originals. This guide will walk you through some tools and approaches.
Note: our site usually restricts members to uploading files that are maximum 2.5 MB in size. We would suggest creating images that are around 500 kb maximum to maintain fast page load speeds. You are limited to 250 MB in total uploads (which can include hundreds of files).
Let’s explore the reasons for using small file sizes and the process of reducing file size.
3 Reasons to Use Smaller File Sizes for Images and Media
Reasons to upload smaller images to your site:
- Small page size = faster page load (Google like this)
- Better visitor experience (less waiting)
- Smaller backups (some backup plugins have size limits)
My Process and Software
I usually export my images using Photoshop or Lightroom. In a pinch I resize using “Preview” on the Mac or “Photos” on Windows. I also like Fotor for making collages of images.
Regardless of the software you can take a large original image and export at smaller resolution and file sizes. Here’s what I do for export for web:
- Open my image in photo editing software
- Export for web (jpg at small settings)
- rename file on export with “_web” at the end
In Photoshop I work often and I use the classic “Export” function to create small images. A logo can be smaller than a photo. So, for example my logo is exported at 500 pixels wide and only 40 kb in size as a PNG, but my photography is 1500 pixels wide and exported at 250 kb as a JPG. I can place an 8-image gallery on my page or post and it will only represent a total download of 2 MB to the visitor to my site.
Screenshots from Photoshop “Export for web” and “Save a Copy” processes
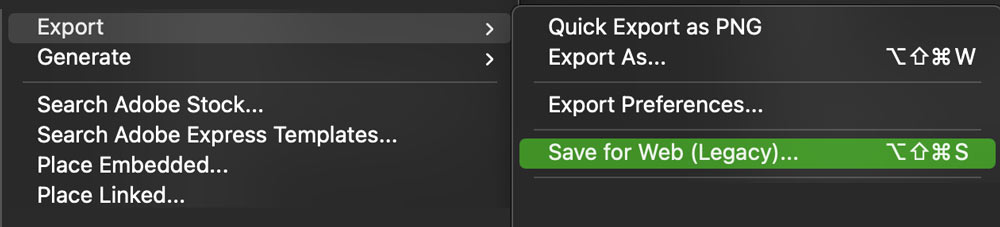
Maybe it’s because I’m a web designer but I do spend a lot of time in the so called “Legacy” export tab known as “Save for web.” It’s really handy. Here are some screenshots from this panel and a few other PS save panels.
Inside Photoshop and the “Export” > “Save for Web” panel
They call is legacy but it’s a very useful option for saving for web.
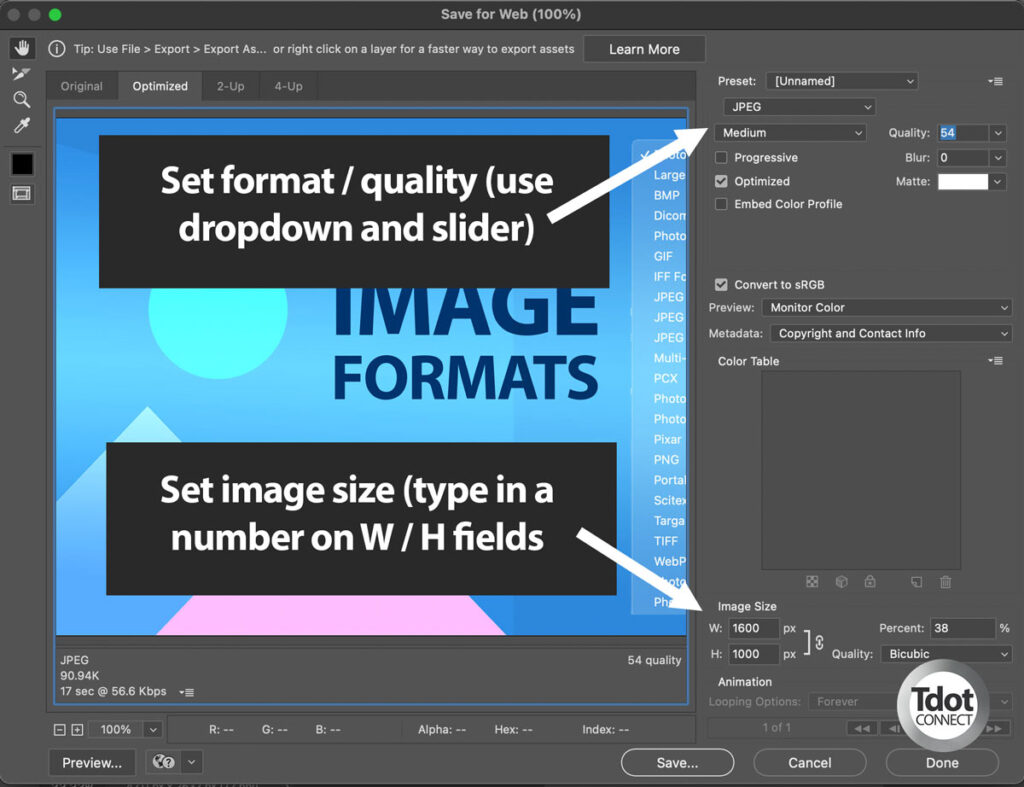
Formats and settings under “Save for Web”
You can really fine tune your settings to create the perfect size and resolution versions of your JPG / JPEG, PNG and WEBP images.
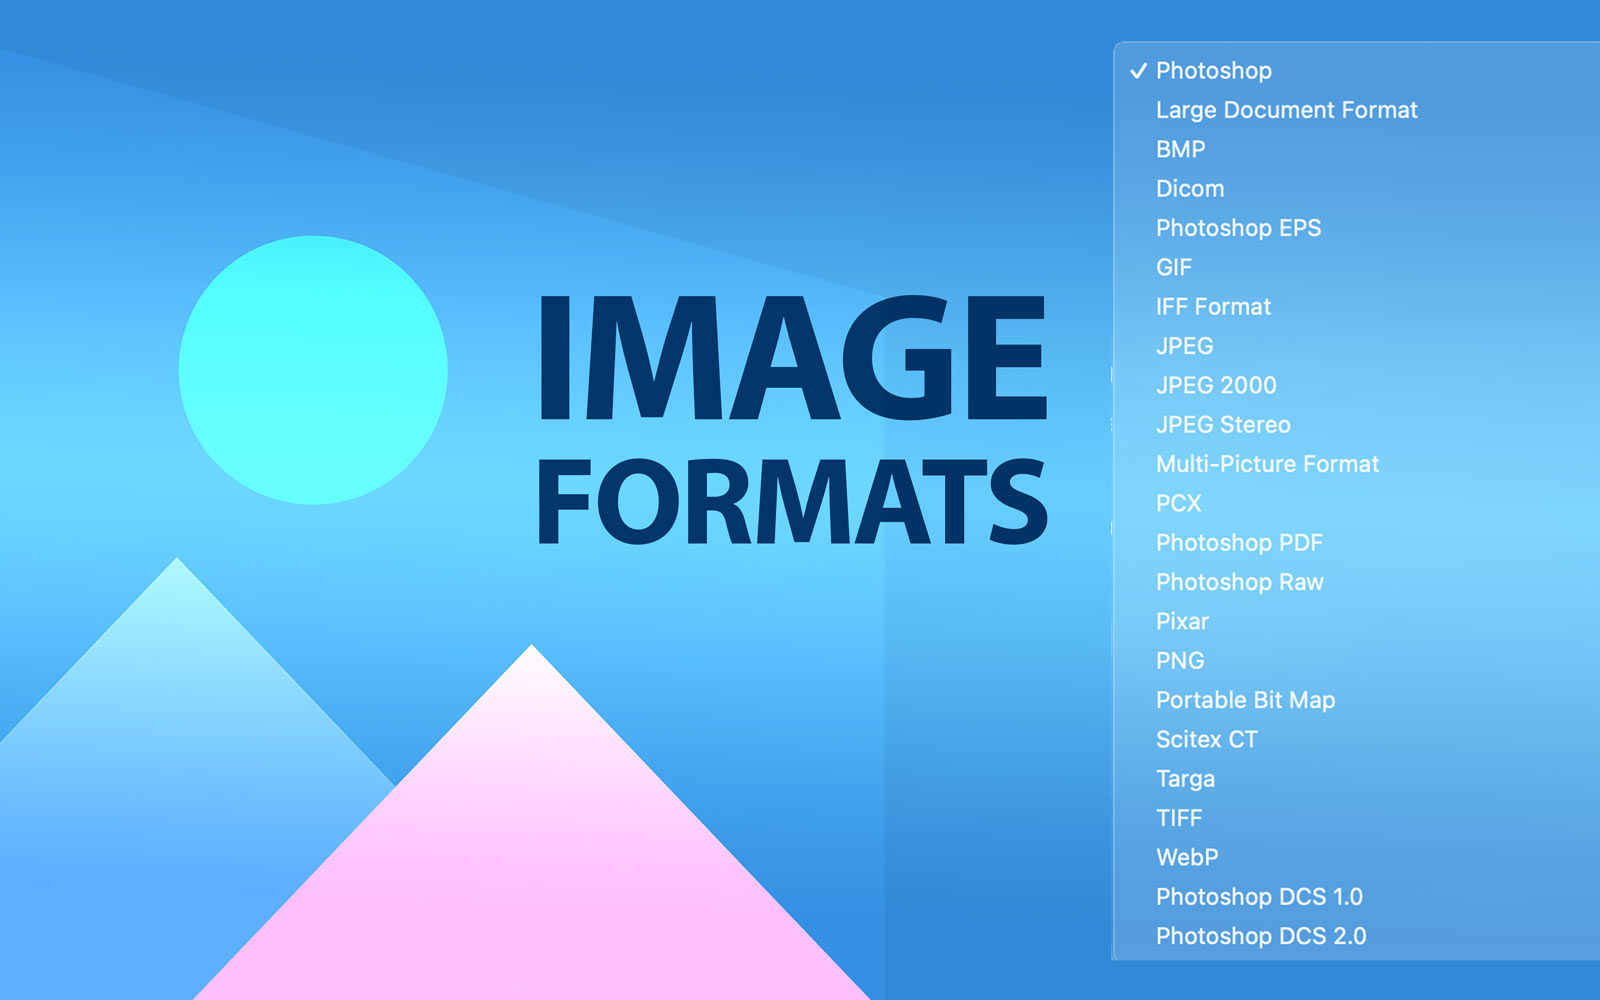
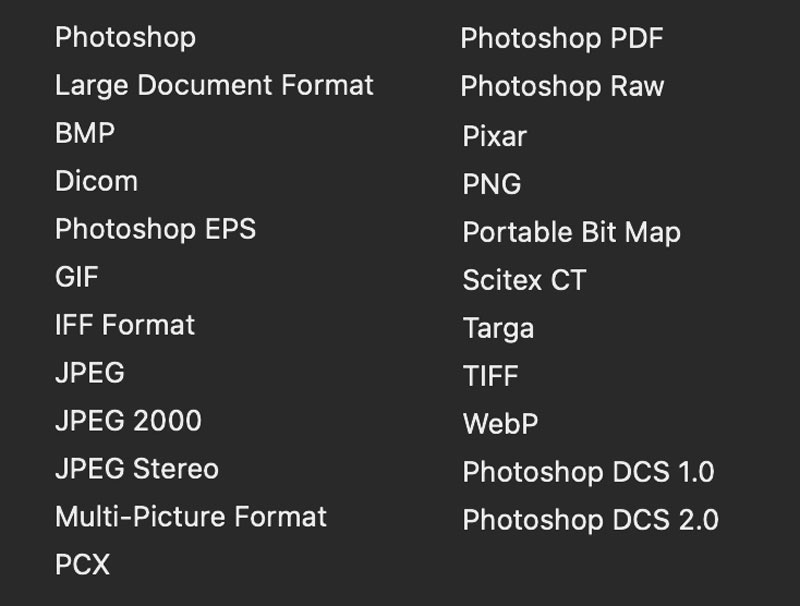
Formats in “Save a Copy”
Photoshop shows you the full range of formats you can save or export to if you use “Save a Copy.” Many of these are impractical and quite a few are old fashioned or for unique use cases (BMP which is bitmap). Conveniently, this is the panel where you can export handy formats like “PDF” or “WEBP,” a poplar new format on the web.
Note on Formats (JPG, PNG, WEBP, GIF)
Here’s a chart showing conversions from higher resolution (high res) to lower web appropriate resolution (low res). Keep in mind some formats like PNG are used for transparency in logos and graphics, WEBP is a new formatted not supported on older browsers, and typically most images are in the JPG format for web.
Generally speaking, you do not need to format for “retina” or “4k” – this notion does not hold unless you have a specific use case where higher resolution images are necessary (for example you have a presentation or business product page),
JPG – this format is most often used for photographs. You can be susprised by how much resokution can be retained by converting full size images to web freidndly sizes. Try right clicking and downloading files on websites you frequest to see what others are doing (media or creative sites).
PNG – this format can be used for photos but it’s most often used for logos, graphics and any images that require transparency. It replaces the GIF format (except where you might use an “animated GIF.”) On this site our logos are PNG or WEBP.
GIF – this is mostly deprecated which means we don’t use it often anymore. Exceptions are animated GIFs which are commonly used as “meme” graphics on the web and for photo animations. These days your logo image should be in a format like PNG or WEBP. By the way for me the acronym is pronounced with a soft “g” as in “great.” 😀
WEBP – this is a new format that can be used for all kinds of images and results in highly compressed images that retain strong detail. Use this when page load speed is important. As of 2024 something like 95% of browsers support this and sometimes a fall-back solution can ensure all visitors see your images (an alternate is served to old browsers).
File Size Chart (Original vs Compressed)
| Original file | Exported compressed file |
| Format: RAW, TIF, PSD, JPG | JPG, WEBP, PNG (logos), GIF (animations) |
| Size: 8 – 12 MB | 100 kb – 500 kb |
| Resolution: 4000-6000 px (pixels) | 1000-2000 px (pixels) |
| Estimates only, your images might be bigger | In the case of graphics with lesser importance you can make them smaller than 100 kb. |
Further Reading and Resources
Overview of JPG, PNG, GIF and WEBP
https://themeisle.com/blog/best-image-format/
Adobe page about WEBP
https://helpx.adobe.com/ca/photoshop/kb/support-webp-image-format.html
Test your site page load speed using Pingdom
https://tools.pingdom.com/
Test your site page load speed using GTmetrix
https://gtmetrix.com/